Sunday, November 25, 2012

DIY - Mirror

Happy Thanksgiving!

So, with the extra time off I had enough time to complete the DIY Mirror project I have been wanting to do for a while now. I have to give credit to The Lettered Cottage where I first found their tutorial. I never could find the small beveled mirrors so I bought them from Ikea and modified what I learned from their blog to make it fit our home.

Here is the finished product...


Supplies...
  • Particle board (cut to fit based on the size of the mirror tiles)
  • Trim (based on the size of the final project and mirror tiles)
  • Wood Glue
  • Nails (Wire Brads - 5/8")
  • Miter Box & Saw
  • Sanding block & paper
  • Spray Paint (I used black)
  • Mirror Star Rosettes
  • Hammer
  • Clamp


 Of course I first went to the local hardware store and purchased the wood and other supplies I did not have on hand. The very nice man at the hardware store cut the plywood to size for me. He was a great help.


Once I got home I laid out the plywood, trim and mirrors and started measuring and marking. I am not going to list out all the details as The Lettered Cottage does a great job and there is no reason to recreate the wheel. Plus, as I said before, I used different mirrors so my sizes where different. I also chose different trim wood.


I must mention that I did work from the top left corner down and then over fitting all the pieces together, mitering as I went along. I made sure everything fit and was tight before permanently adhering anything.

Sand down after mitering but not too much, don't want to round it out.
Here you can see the Wire Brad (wood glue under)


FYI - A Brad head nail is a specific kind of nail used in construction for interior finish work. Brad head nails have a cupped head that penetrates below the surface of the wood, leaving a smaller hole to fill. This gives a smoother finished appearance. 
This is a specific kind of nail used in construction for interior finish work. Brad head nails have a cupped head that penetrates below the surface of the wood, leaving a smaller hole to fill. This gives a smoother finished appearance.

Read more: What Is the Difference Between Brads & Nails? | eHow.com http://www.ehow.com/about_6594730_difference-between-brads-nails_.html#ixzz2DHuT5M4y
.

This is a specific kind of nail used in construction for interior finish work. Brad head nails have a cupped head that penetrates below the surface of the wood, leaving a smaller hole to fill. This gives a smoother finished appearance.

Read more: What Is the Difference Between Brads & Nails? | eHow.com http://www.ehow.com/about_6594730_difference-between-brads-nails_.html#ixzz2DHuT5M4y
I cut the inside pieces and sanded them so that the edge would have a softer, rounder look.

I used a second type of trim to cover the edges of the plywood so that the finished product would have a smoother look. The photograph is a little blurry but I think you can see what I mean.


I used wood glue and wire brads to attach...


All set for painting. Note...the inside trim pieces are not glued in yet. I also marked all the mirror squares so I would remember exactly which one went where. Yes...they were all very slightly different. I also numbered the inside trim pieces.


Next I spray painted everything with several coats of black semi-gloss. If I made this again, I would have primed all of the wood to use less black. (Live and Learn).

PS - I save plastic containers to use as supports for my projects

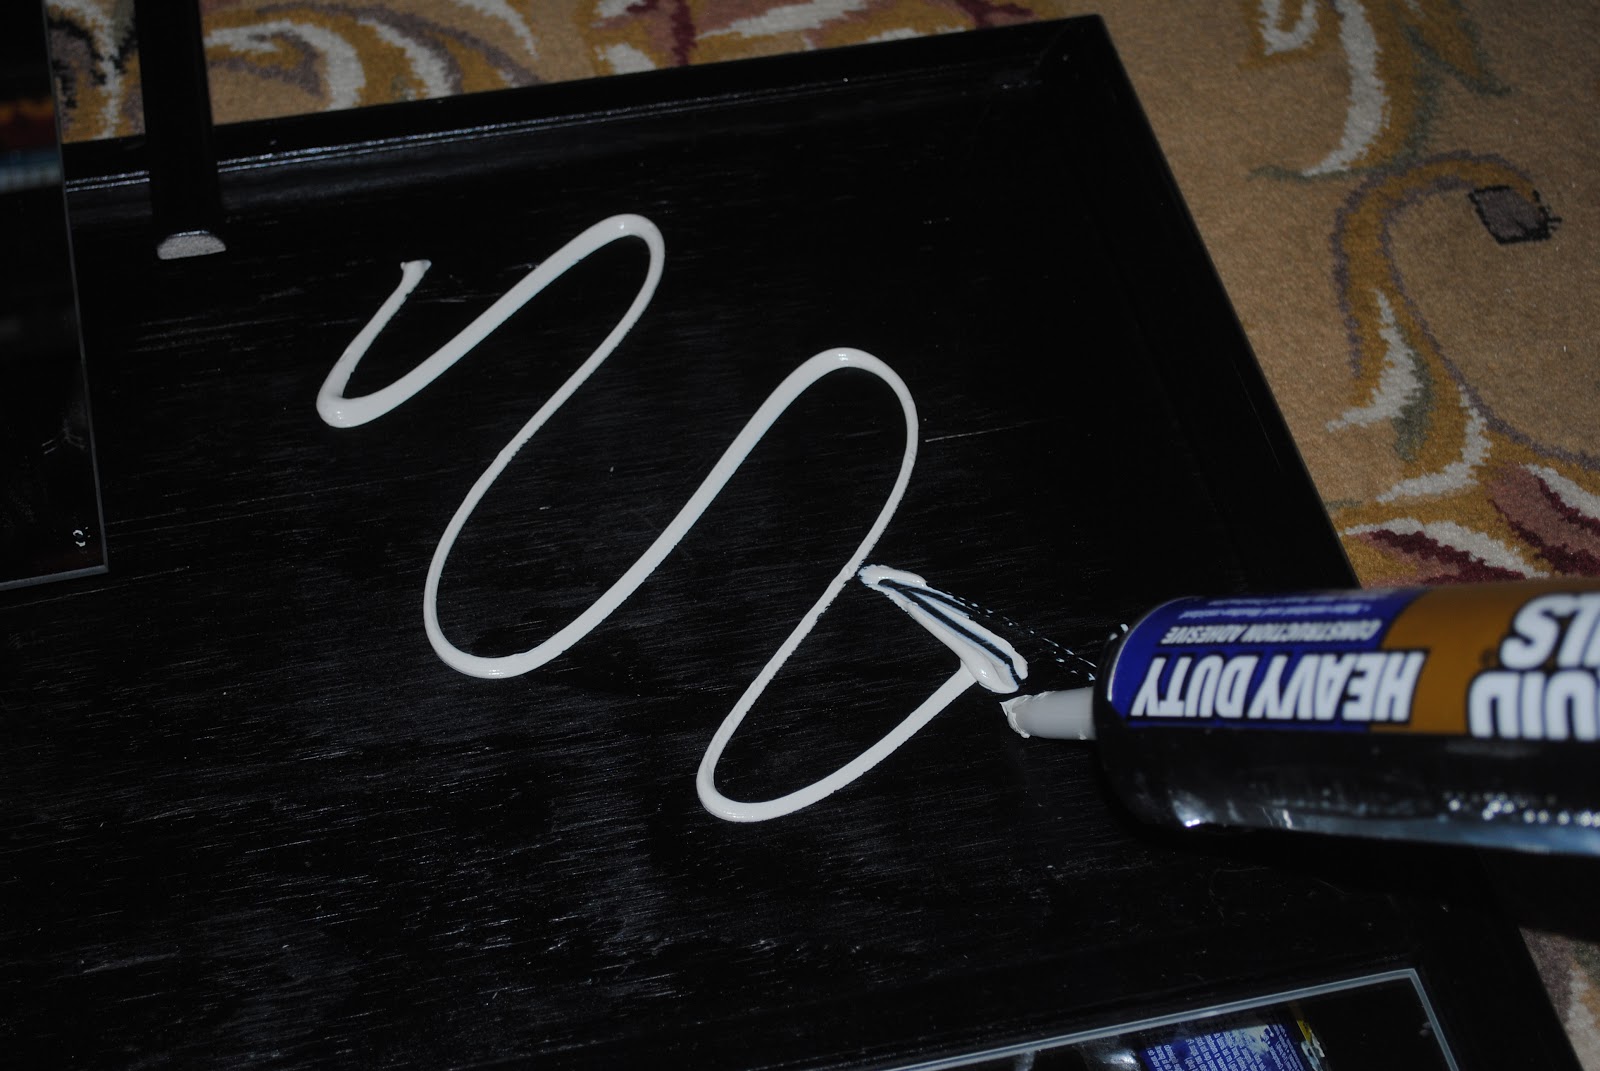
I then used nail glue to adhere the mirror tiles and inside trim pieces to the back.


And...
The finished product
(I glued the rosettes on later so they are missing from this picture)


Finished just in time for the holidays......


Decorated for Christmas. Inspiration from The Lettered Cottage


UPDATE: This project was featured on Knock Off Decor
Thanks Beckie :)
 

Wednesday, November 14, 2012

For the Girl (or Guy) Who Saves Everything

Yes, I am that girl. The one who just can't throw away things of value, especially if its from others. I save all greeting cards, ticket stubs, photographs that where left over from printing too many, well...you get the idea.

So.......here is a couple of ways to save them and use them all at the same time;

My husband smokes cigars (I know...yuck), and they come in these adorable wooden boxes that I saved (of course) so I decided to cover them with various left over scrapbook paper and use them to store other things I just can't throw away (LOL).

For greeting cards....
 

 For Christmas Cards....


For those photographs I just can't throw away.....
 

For ticket stubs and other memorabilia.....
 

They stack so nicely. I also keep one on the end table for my glasses, the remotes, etc...


More to come soon.....

A New Apartment on a Budget


This past week I flew to the west coast to give my son an early Christmas present. He moved into a new apartment and asked me to help him "...make it more homey..." and this was a gift that I felt good about giving and he would use and appreciate for a long time.

First the bedroom...

He did not have a headboard so I went to the local Lowes and purchased 5 boards, paint, and brushes. I first primed the boards with my very favorite primer by Zinsser;


 Followed by Valspar Latex Enamel in Satin Black...


Tada....


Next the bedding and curtains (from Ikea)
(this is actually a more accurate picture of the color)


A little art work:

I purchased a poster from Michael's, separated in four 9"x12" and Mod Podged to flat canvases. 


Then I found another poster at Michael's and Mod Podged the edges around a larger canvas to give it a more three-dimensional look......


Putting it all together:

That was it for the bedroom but I did design wall art for the living room, just forgot to take a picture of it once hung. I did this the same way as the wall art above. Want to download the software to make this go to Rasterbator


Wall Art Recap...


 UPDATE: Click HERE for the Bathroom Redo on a Shoestring Budget!

Thanks for visiting,

A Cowgirl Celebration

Wow...its been a while but I'm back. I never knew keeping up with this blog would be so difficult. With work and school and preparing for my Granddaughters first birthday party I have had so little time to do much else. But with the birthday celebration over I have a minute to breath and share some great pics of her party. Enjoy!

My daughter hosted the party at a community center in our area. 
Theme: Cowgirl
The planning started with "what food should I serve?", 
but it was more fun designing HOW to serve the food and she did a terrific job...

 
EATIN IRONS!!

Carrots and Ranch....."EVERY HORSE NEEDS A LIL RANCH!"

Rootin Tootin Trail-mix

Hay Stacks
(The tray was purchased at a thrift store and the cow spots where drawn on with a black sharpie and the base of the tray was covered with cow scarp book paper. The little blackboards were purchased by by daughter online at Oriental Trading..I think )

Brownie Pops by Aunt Stacie...she is so incredibly talented!

 "THE WATERING HOLE...CACTUS JUICE"


CORN BREAD & TINY HOT DOG ROLLS


 COWGIRL CHICKEN...


The Spread...... 


The Cake (made by me)


The Desert Table


 My daughter had this blown up at the local print shop and hung it on the entrance door.
(Did I mention she was a photographer?)

Each of the 8 tables where decorated with dotted craft-type paper (dollar store), pink and brown bandannas, tiny (real) pumpkins, burlap covered planters with silk flowers and framed picture of the birthday girl. (frames made by my daughter and were spray painted pink and decorated with scrapbook decor)


Besides the food and decor there were fun activities for guests of all ages....

The Photobooth

 Pint the tail on the Horse

The prizes for all the winner!
(most are from the dollar store)

And of course...the Birthday Girl 
 (Skirt and Vest by Nana, boots from Walmart)